
Go East Young woman and give a really really hard working man a really cool pin. Okay, so I am not young but I still was able to make a friend in Boston happy by making him my first, ever, piece of Or Nue.
Or Nue is a technique of gold work in which you lay metallic threads horizontally along the fabric and stitch colored silk over the metal in order to form a picture in your needlework. It is a technique that many shy away from thinking it is too difficult or to fiddly to attempt. I’m here to show you that patience will allow you to succeed with this technique and with that you can tackle it easily.
To start I drew the intended design on a piece of paper to size to get the handle on how I wanted the shading to work in the image. In choosing my ground fabric you want something with a tight weave. My first attempt of this I, mistakenly, used a wider weave linen which was strong but would have lead to uneven lines and a distorted image overall. Here is an image of the mistart.
 Note the wide, uneven weave and the beginnings of variation in the silverwork of the bottom of the piece.
So, back on the right heading I found a tighter weave fabric and traced the outline of my design onto the fabric.

Note the more even weave and tighter overall look of the fabric. This outline would be fine if I was going to free embroider the image but in this case, we add to the design from right to left across on every line all colors associated with that line. To make the job easier we want our “comic” to have the colors of our final piece.
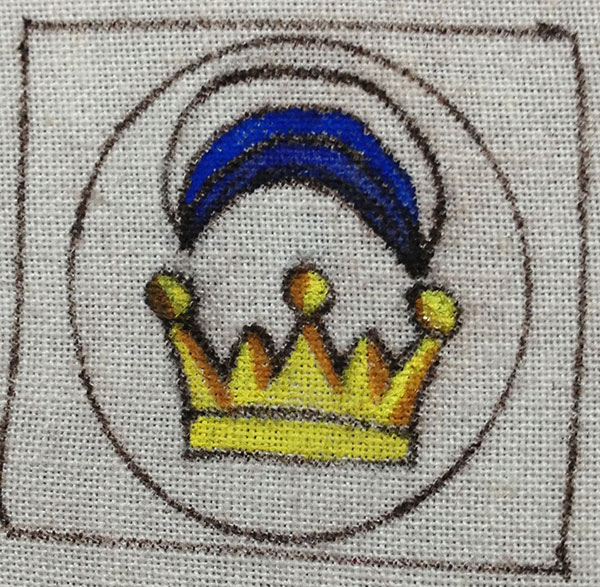
Shading and colors are added, the fabric is tight on a wooden frame and we are ready to begin our work.
 When your design is the size of a quarter you need to find a metallic thread which is neither to large or too small to set your design out. Not having the perfect size in a single strand I took a twisted silver thread and separated it, using only one of the lengths.
Once you lay down your silver you take your silk stranded floss and couch it down at regular intervals until you reach a part in the design where you must start adding color. Like many tapestry weaving you can keep your colors on needles and “live” without tying them off as you use them. Waxing your threads, at this point, also helps to keep down the dangers of stranded floss.
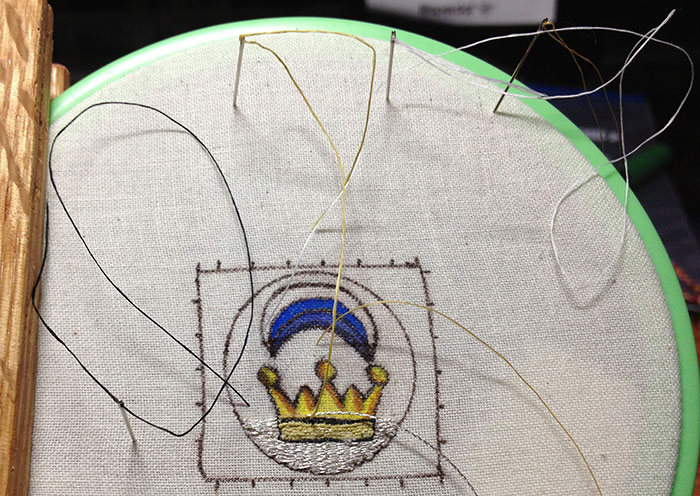
You can see the design in progress here with at least four colors active on the piece. At this point in the progress of the item you don’t notice much variation in the metal horizontal strand. That variation is caused by many things. Most regularly it’s caused by lack of even tension throughout the piece.
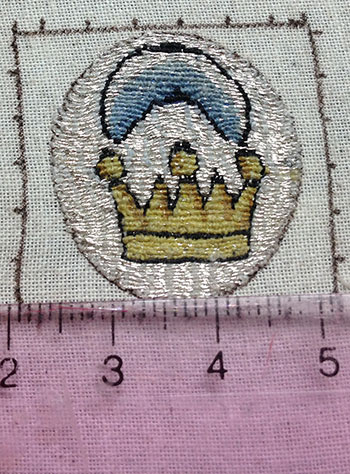
Here you see the final image and it’s measure in centimeters. Clicking and looking carefully at the piece you will notice that I was not exempt from the dreaded wobble of the metal threads. I identified my cause as being the lack of regulation of silk thickness used to wrap the silver threads. This was a mistake of a beginner in this craft as I had not yet learned to separate stranded silk evenly.
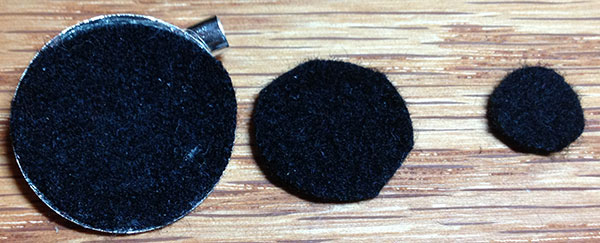
Now finished, I had to prepare the piece for mounting on a metal backed pin. To prepare the concave pin back I had to pad it with circular pieces of wool capping it off with a piece of cardboard to keep the embroidery from bowing outwards.
Taking the piece, itself, I put it on the cardboard backing and used white glue to attach it to the front of the pin and then the back saturating the cloth with glue.

To cover the ugly back I cut a piece of black felt and glued it over the back.

After trimming you can see nothing but the metal piece itself.

The final piece after it has dried

I will admit that this small piece seemed to be the first step of many for me along the road of or nue. I loved the technically difficult nature of this medium and already have my next piece planned out for design once my calendar clears up a bit.
